
Here is an example, but there are soo many different ways that you can do this. Just be creative! Melted crayon art is not that hard to make and really fun, although it can get a little boring waiting for the crayons to heat up. I suggest you do it with a crafty friend if you can. I did mine with my best friend CLARE. Below I have put togethor a quick step by step tutorial. I hope you enjoy!
What you will need:
- A blank canvas
- Crayons (recommended crayola)
- Elmer's school glue
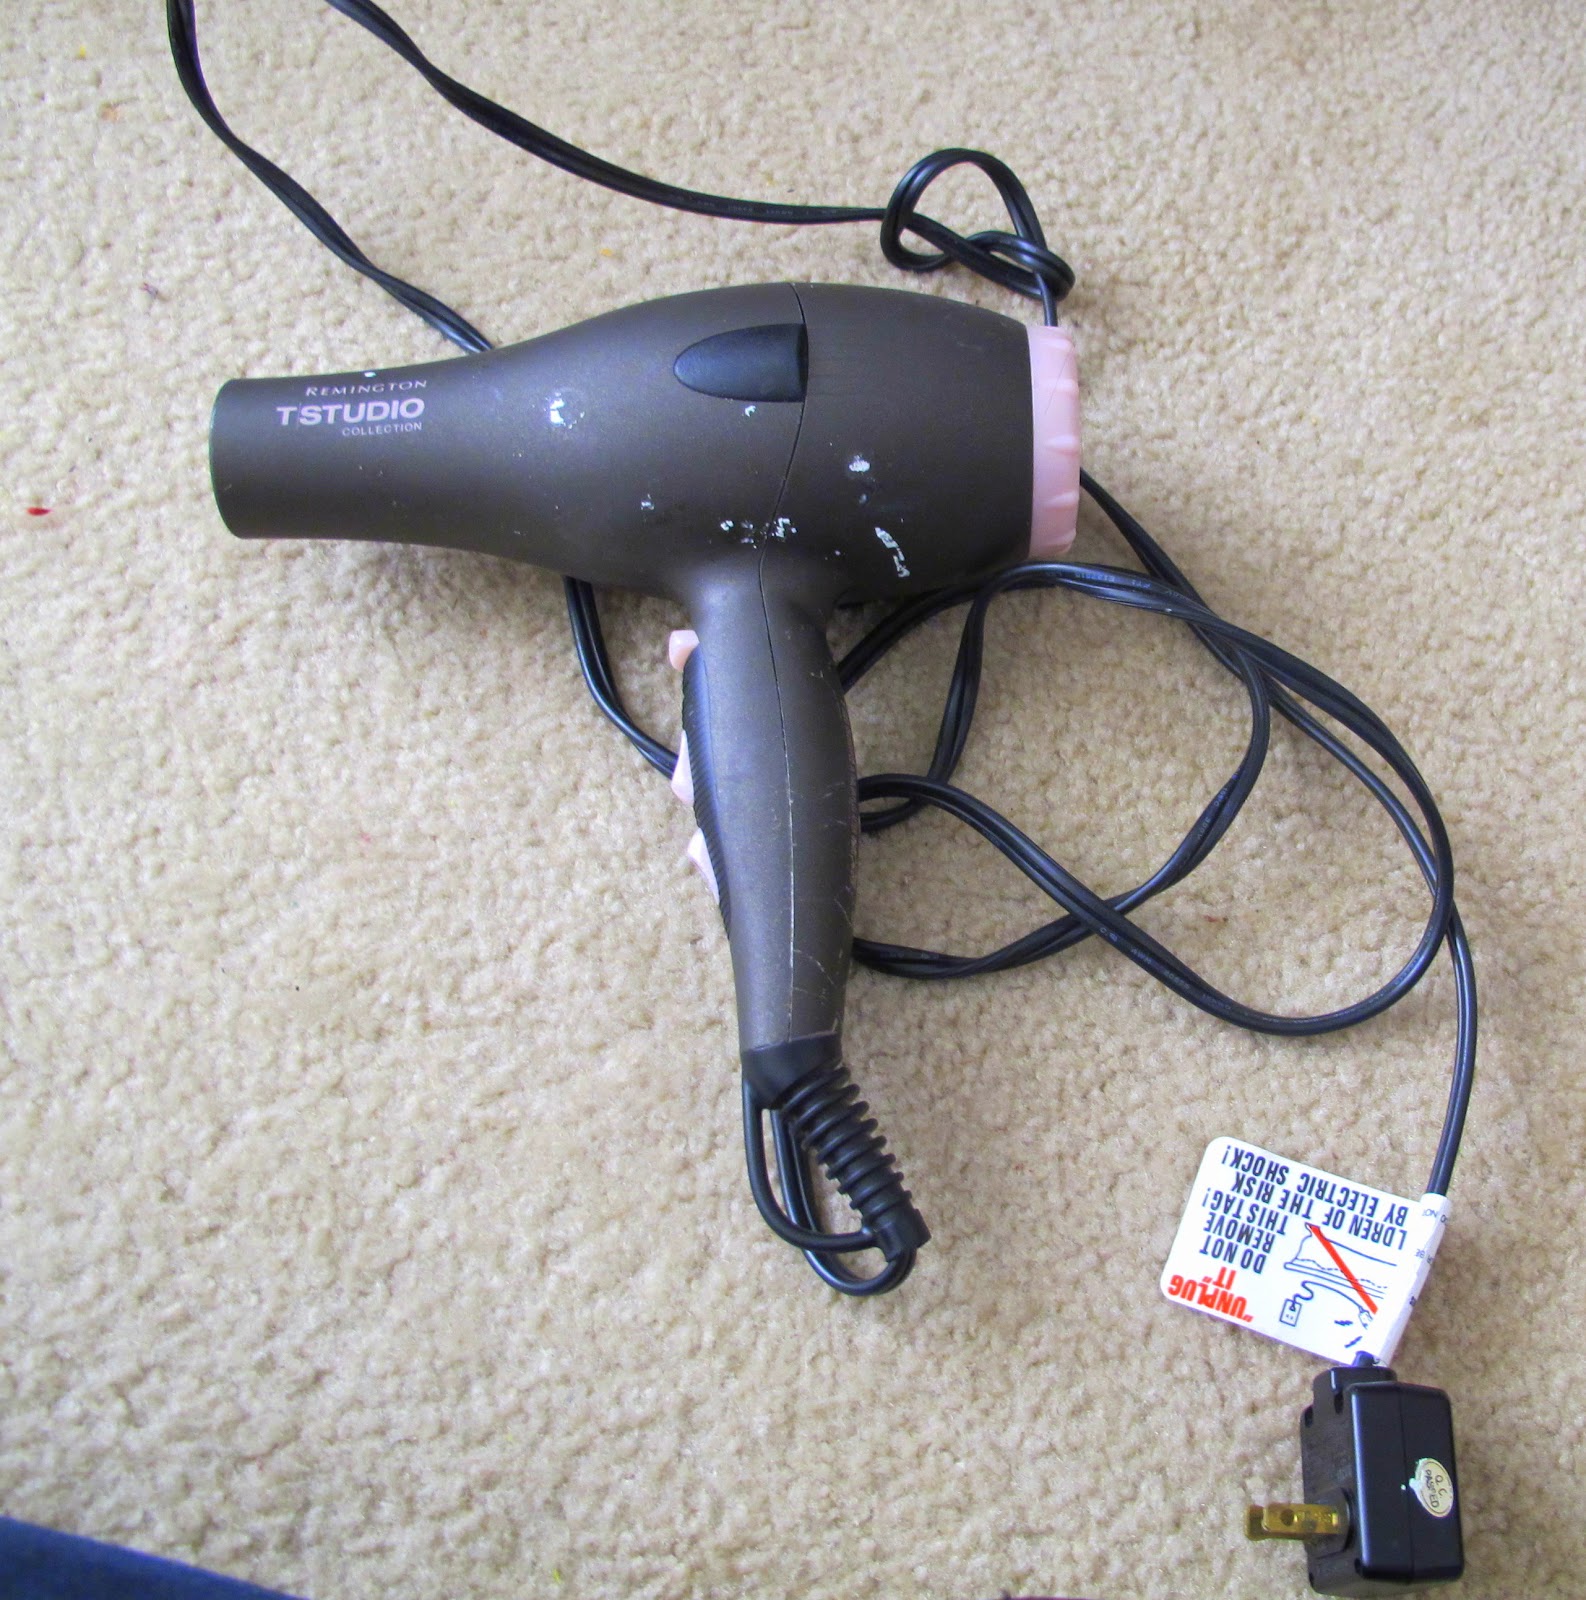
- A hairdryer
- Newspaper or something to cover the floor
- X-acto knife
- A pencil (optional)


Step Two: Decide which colors you would like to use. You can choose any colors, any color combinations. At first when looking at pictures and other tutorials of people who made this, most of them just went with the colors of the rainbow. Which don't get me wrong is really pretty too, but I wanted to do something different. I decided to go with tealy blues and oranges, to match my bedroom.

Now that you have that done with your crayons should look like this.

Step Four: Decide what design you would like to make and start laying out the pieces, you can draw something like I just wrote out my name. Once you are satisfied, glue down the pieces. Although you may think that any glue may work for this, it is not true. If you are leaving the crayon wrappers on them you should use hot glue. Otherwise if you are doing it like I did mine, then I would advise you to use white school glue. Make sure that you not only glue the crayon onto the paper but also be sure to glue all the way around each crayon. When I first started to do this I thought that spray adhesive would work, although it is dangerously sticky, its not sticky enough or holds enough body to adhere and stay to the crayon when you use the hair dryer on it. So school glue is your best bet, but you can probably try super glue aswell.
After you have let it dry for a good sometime (I let mine dry overnight). It should look like this:

Step Five: Now this is where the fun part begins. Make sure you have your floor covered with something that you don't mind getting dirty. I used some old newspapers and propped it up against the wall so that the color could run really good. Set your hair dryer on the highest, hottest heat and start panning over the crayons. You can start and focus on one area or you can do a little bit of everything at once.

Since the color only ran down, and my picture wasn't glued at the very top of the canvas. I flipped mine over and started to hit the crayons with some heat from upside down.
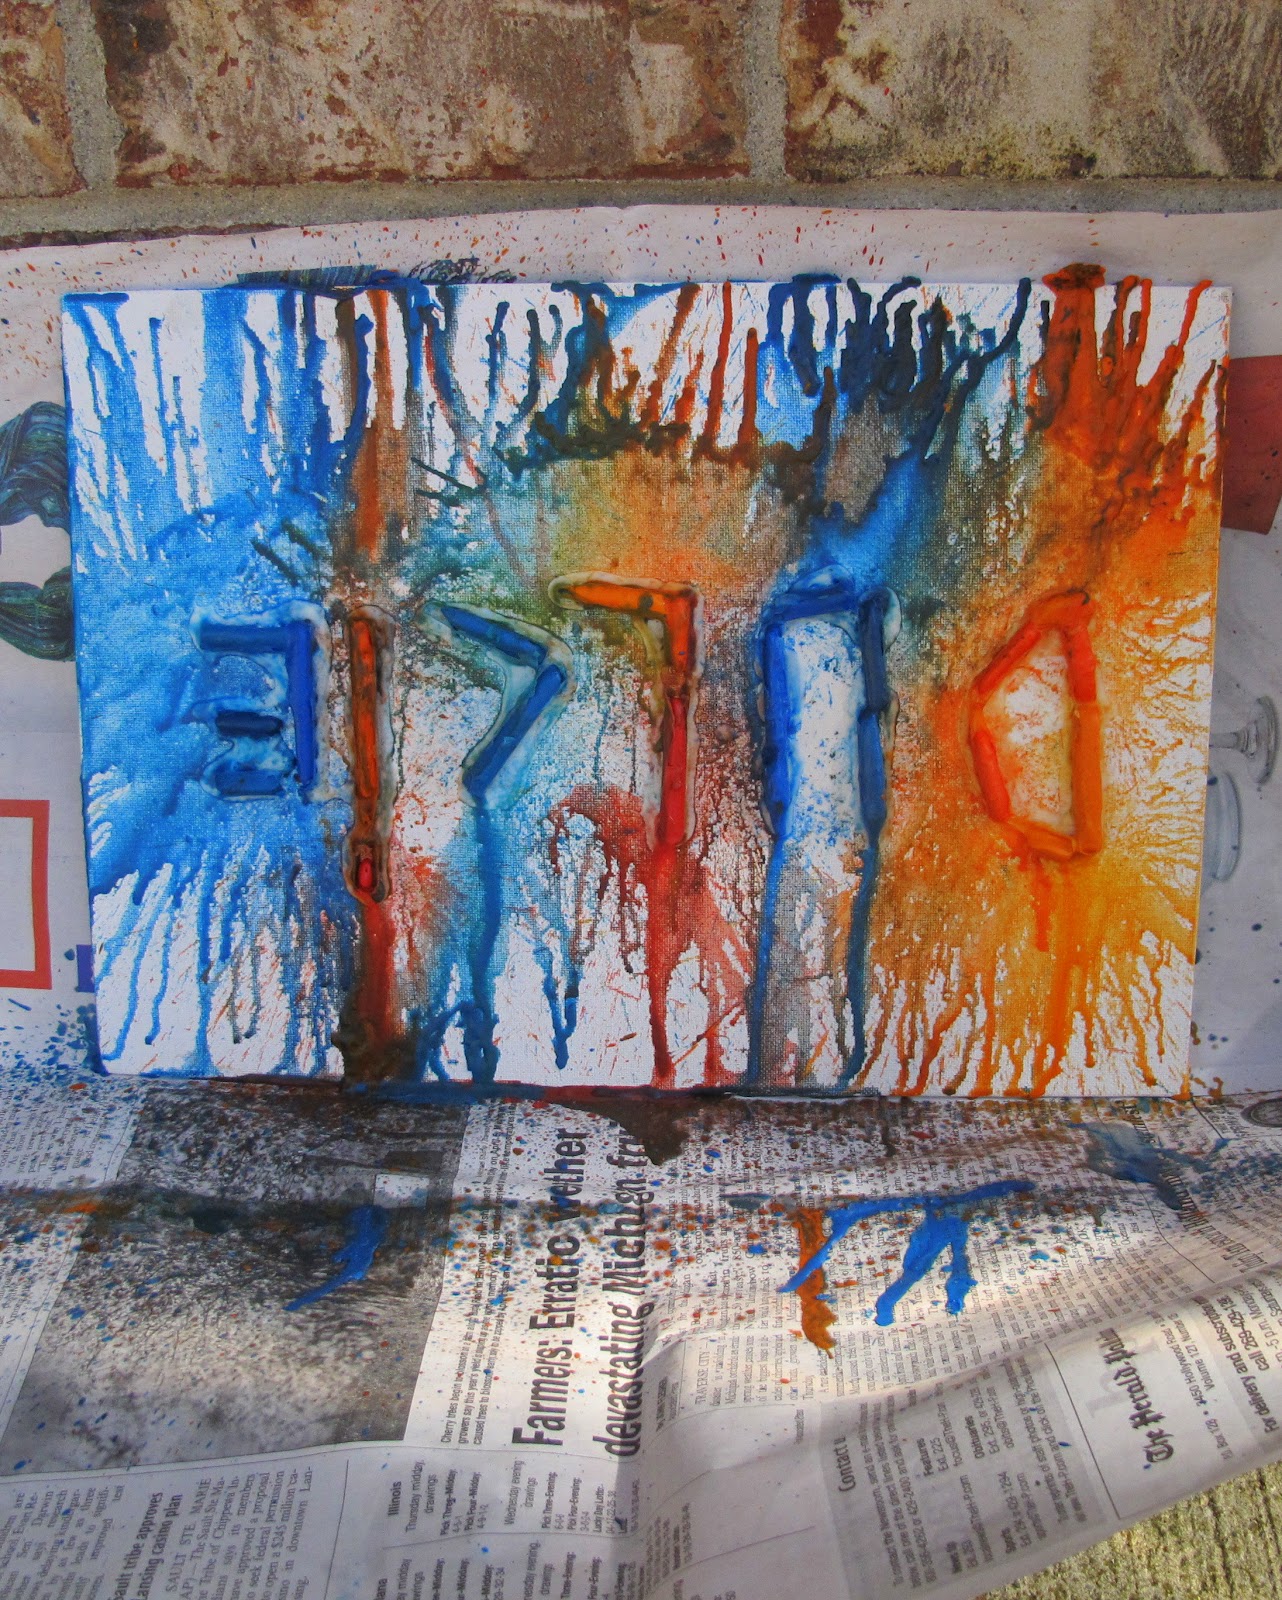
Once you are satisfied with the way it looks you are complete! Because the crayon drips there will be some fallout and pieces of melted crayon hanging off. If you like that look then by all means leave it on there, but I decided to break it off. In some tutorials I've seen the people break off the bottom peices that fell off the canvas and put them back onto the canvas and hit it with some heat again. Its all really just preference.
Anywho, this is my finished result. I hope you enjoy!


